Foreign Keys Related Rows
Querious has some very very handy features for navigating along foreign key relationships, from child to parent and also from parent to children. MySQL foreign keys require that you’re using InnoDB tables, but if you’re not, you can instead use Querious’s “Artificial Foreign Keys” to mimic the relationship a foreign key creates, and use the same features.
Foreign Keys
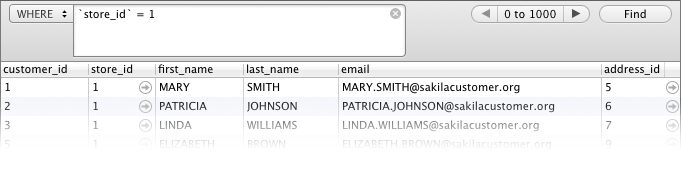
Next to each field value where the column is a foreign key pointing to a row in another table, Querious adds a little arrow “jump” button which when clicked will take you to that foreign row being pointed at.

For example, in the screenshot above a row in the “customer” table is shown. The “store_id” column is a foreign_key pointing to the parent table “store”. Clicking on the jump button to the right of the store_id value “1” will then display the row for the “store” table row with an id of “1”.
Related Rows
Foreign keys point from rows in a child table, to a single row in a parent table. In the example above, multiple customers all shop at the same store, and the foreign key in the “customer” table points the store_id column in the “customer” table to that customer’s store’s row in the “store” table.
Querious goes a step further by also allowing you to travel the inverse relationship. That is, we can see all customers that belong to a particular store.
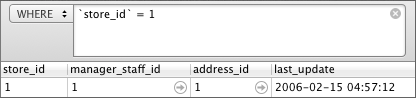
In the “store” table are records for two stores:

To see all customers that belong to the store with store_id “1”, right-click on the row and select “Show Related Rows…”. This will display the sheet below:
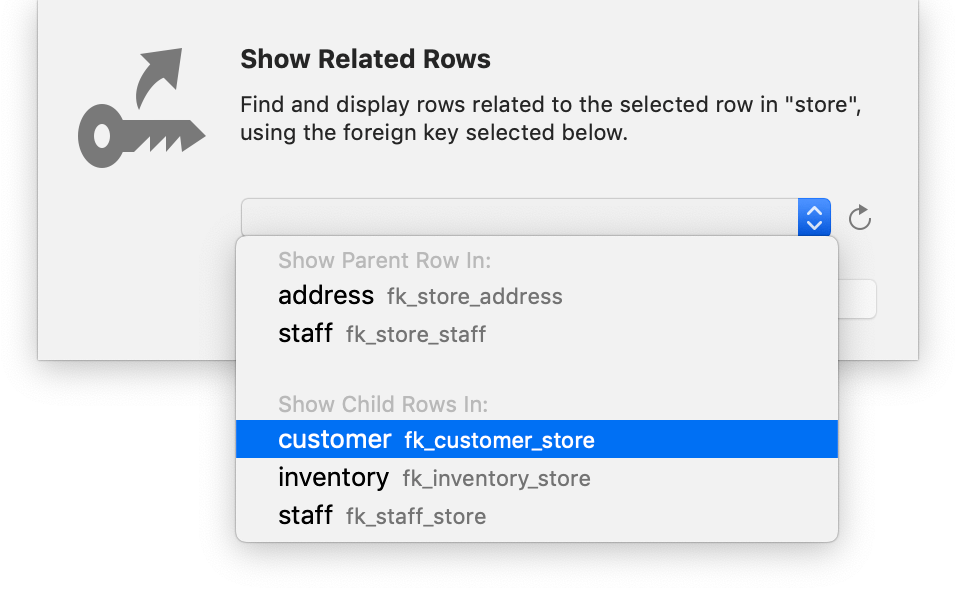
In this sheet, we can select from the popup which relationship to use, as multiple rows in other tables may be related to the rows in the “store” table. In the screenshot above, we can see 5 relationships. The “store” table itself has two foreign keys pointing to other tables (staff and address), and we can also see three tables that have foreign keys pointing to the “store” table (customer, inventory, and staff).
To see all customers rows that point to the store with store_id “1”, we select “customer” from the popup, and then click “OK”. Now, the content view shows the rows in the “customer” table which all have a “store_id” value of “1”!